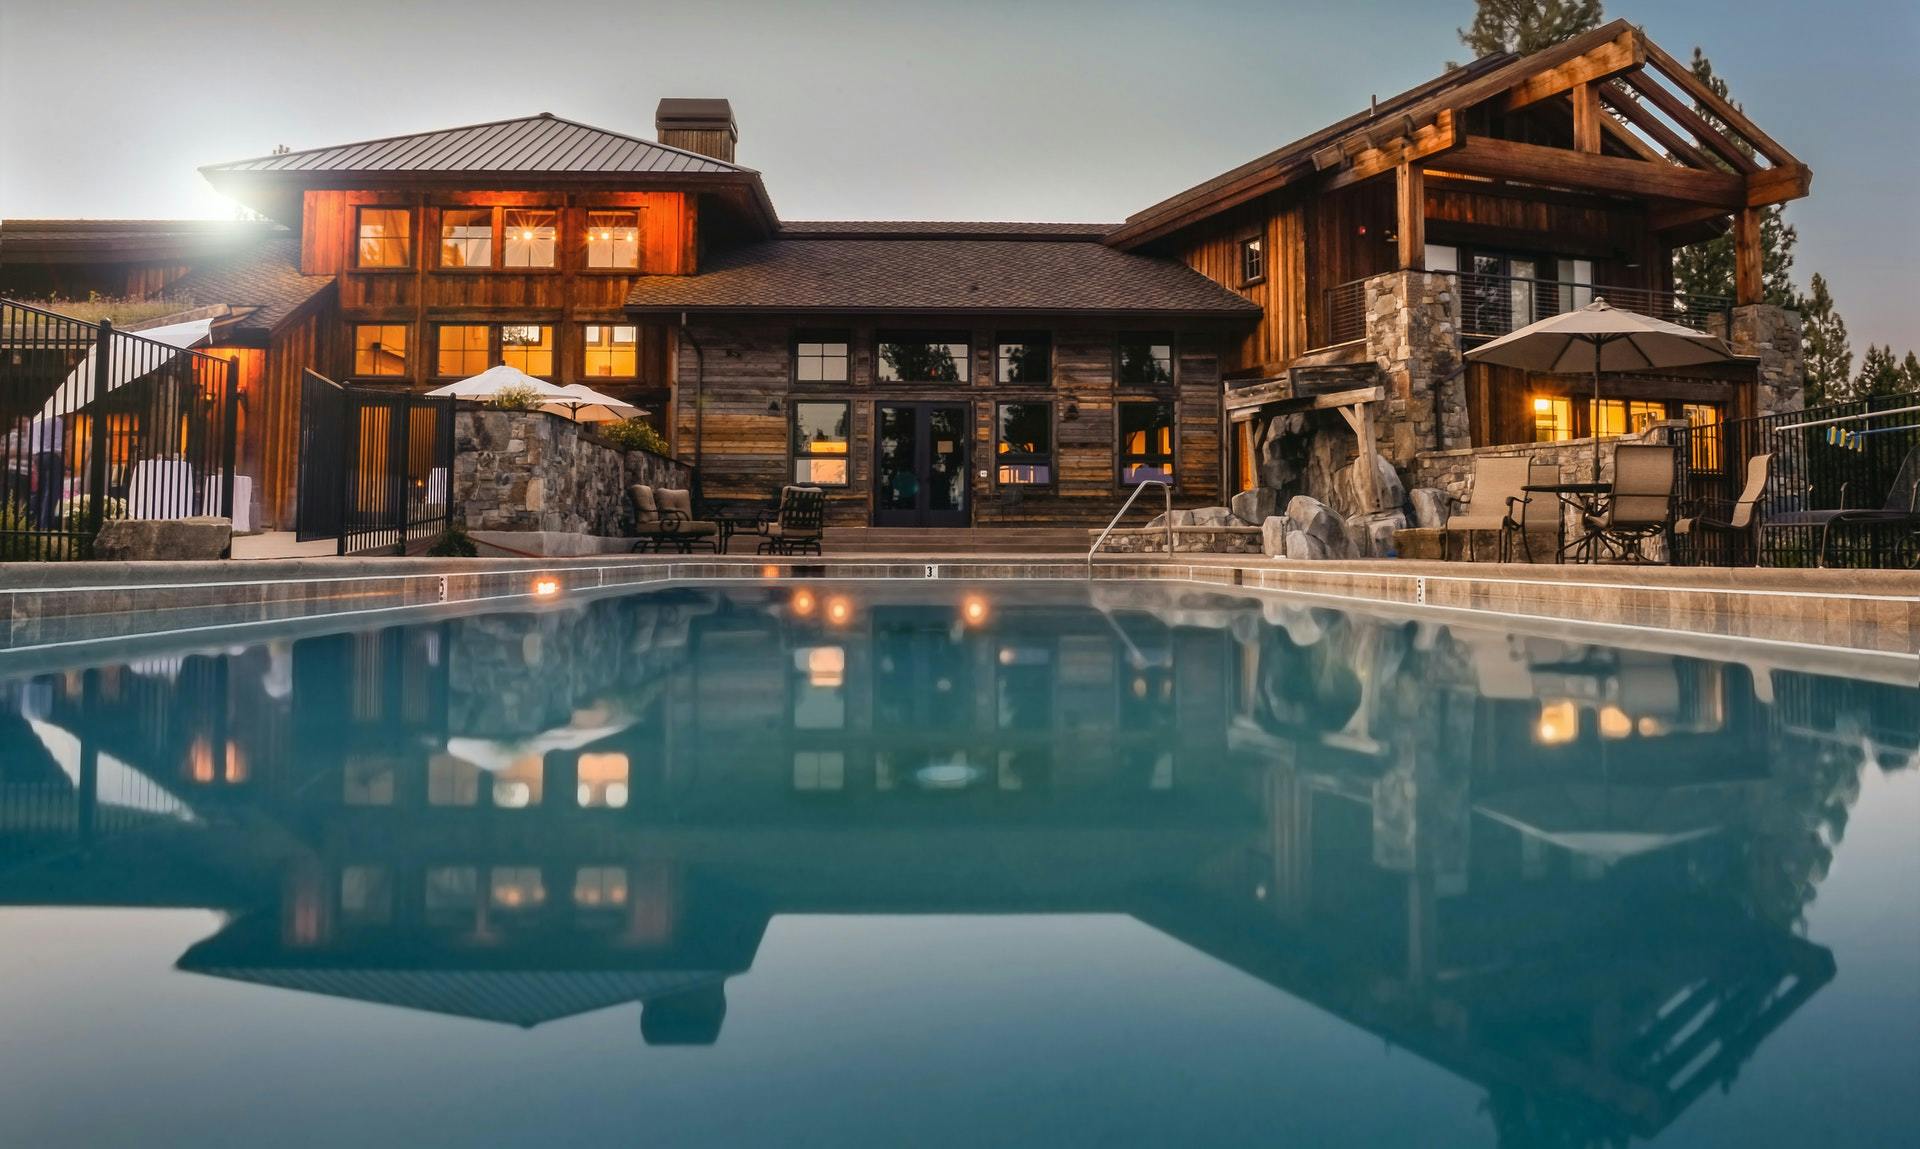
Are you a real estate photographer?
If yes, what is the ISO you are using?
Any professional photographer surely knows the importance of ISO in all types of photography. For one, it is not just a useless element in your camera. It has a purpose.
So, before learning more about ISO and how it can help you shoot beautiful images, let us define it first.
What is ISO?
There is no denying that your camera’s ISO stands for International Standardization for Organization.
It is the very same ISO you know in different industries’ regulations.
But, there is one thing you should know when it comes to a camera’s ISO: it is only used to brighten or darken your images.
It is technically a setting that can allow you to work in dark environments without the need for additional or artificial lighting.
ISO Sensitivity and Exposure Triangle in Real Estate Photography
For most DSLR cameras, ISO measures the camera’s ability to capture light.
It is associated with the concept of exposure, particularly in certain types of photography, including in real estate.
So, how exactly should you use ISO in your property images?
The primary step is to learn the exposure triangle.
But what is it?
In the most straightforward reference, exposure refers to the amount of light that the camera can capture.
Is it a controllable setting? Yes, it is!
You can control exposure, given the three necessary settings that work hand-in-hand to create perfect images.
Hence, you should familiarize yourself with these settings: aperture, shutter speed, and sensitivity, otherwise known as ISO.
Moreover, remember that these three settings comprise the exposure triangle.
The Ideal ISO Setting for Real Estate Images
The rule of thumb is to remember the basics: (1) increasing the ISO value means the sensor is more sensitive, so more light is captured, while (2) decreasing the amount means lesser light is captured.
The primary camera’s ISO is around 100, but it can be as high as 4000.
Having ISO as high as that sounds good, but it also has its downfall.
It allows you to capture more light information even in a low-light environment. Still, the images will likely not appear crisp, with noise or grain. This is not aesthetically pleasing to see in the final photos.
Therefore, the recommended ISO levels, especially for real estate photographers, should be the following:
- Maintain it as low as possible, starting at 200 ISO as a base.
- If you need to go higher, make sure you will not go above ISO 400 unless otherwise required.
Aperture and Shutter Speed Ideal Settings
Do you still remember that exposure triangle?
We mentioned other settings like aperture and shutter speed, so here is a bonus part for you!
We’ll let you know about the ideal settings you should follow when setting up these two other settings.
So, let us define what an aperture is.
Aperture refers to how wide your lens is when taking images.
The basic idea to remember is this: the wider the opening, the lower the aperture value, and the more light that is allowed to strike your sensor.
Given this, the shallower the depth of field is, the more precise the focus point is while anything away from that point becomes more out of focus and less bright.
Now, a lower aperture value means a shallower depth of field. At the same time, a high aperture value such as F22 means the lens is open less.
Typically, in real estate photography, the ideal aperture is between F8 and F11. Moreover, F5.6 and F16 are also acceptable but not recommended with outside edges of the range.
On the other hand, shutter speed means the duration as to how long your lens stays open to allow light to hit the camera’s sensor.
What’s right about shutter speed is you can be flexible in setting this compared to ISO and aperture.
If you choose to use 1/100 second, make sure you use a tripod to avoid blurry images.
That’s it!
You now have a better understanding of the perfect ISO for your next photo shoot. Following the suggested settings should help you first-hand if you have difficulty finding your camera’s right settings.
However, we still recommend that you experiment with these settings in your free time to get the best combination that is perfect for your nee
