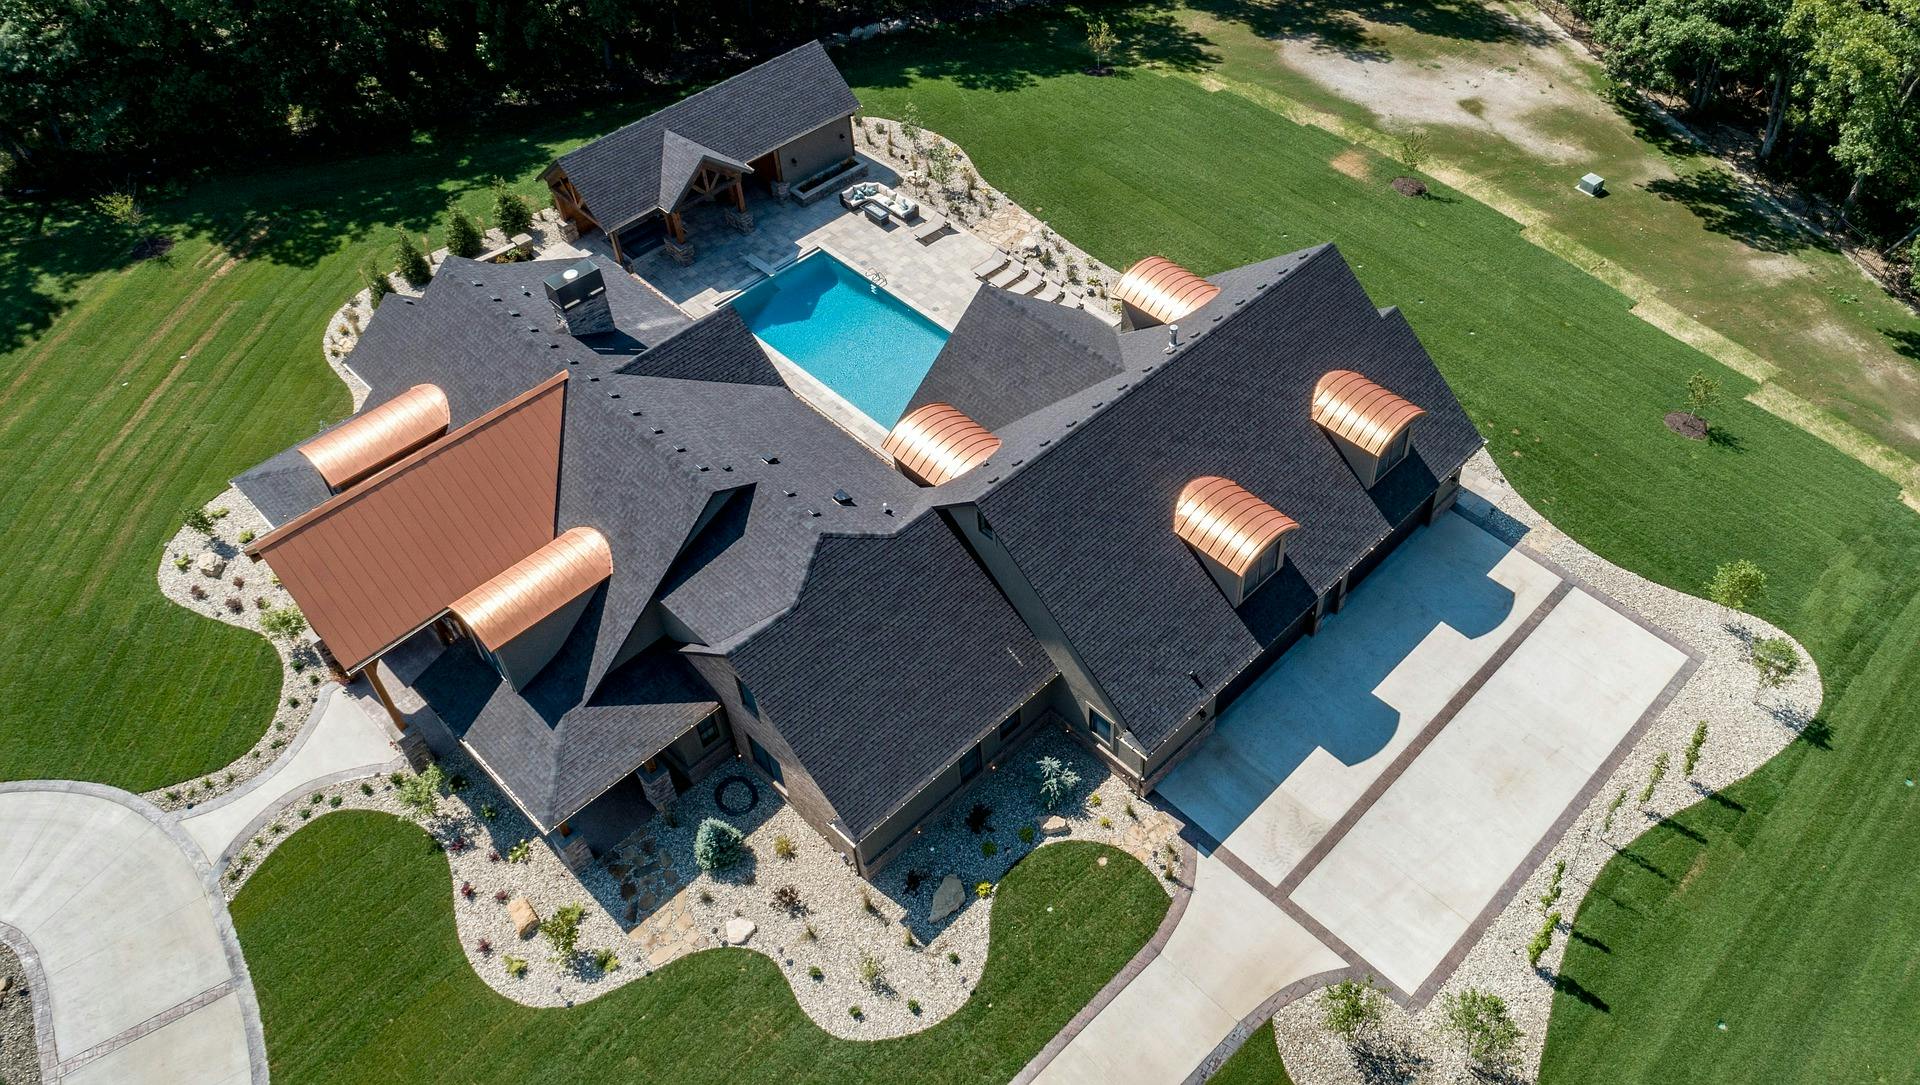
At times, doing the usual interior and exterior real estate photography is already challenging.
How much more if it is drone photography?
Most photographers share the same dilemma regarding aerial or drone shots, primarily because it is a lot more complicated than the usual photoshoot.
So, if you are also one of those who want to learn how to do aerial photography the right way, this article is for you.
Drone Photography Defined
From the name itself, drone photography, also known as aerial photography, involves taking real estate images and videos at a higher altitude.
Technically, this is challenging since it will require you to use a flying drone at a high altitude.
Despite this, you should recognize that this alone can leverage your property listings.
Here’s why.
Compelling aerial photography showcases unique aspects of the property that is impossible to capture at ground level.
For example, you can take good pictures of the property and the adjacent area in a regular shot but not the significant landmarks and stunning landscape and the rest of the neighborhood.
Yet, with aerial photography, this is possible.
Your Guide to Aerial Photography (4 Steps Only)
Are you excited about how to do drone photography the right way?
Here is a quick and simple tutorial for you.
Buy the right drone
Even without a guide, you can buy a high-quality drone that is perfect for aerial photography.
Always consider your budget, though. If you’re on a smaller budget, there are drones for up to $1400. At this rate, you should be able to buy a good drone to do the work.
It is still costly compared to others but is still relatively cheaper compared to other brands.
One brand you can check is DJI drones.
Master the set-up process
This one is subjective as it depends on the kind of drone you have.
In this tutorial, let us use the DJI drone as an example.
The very first step is to pair it with your smartphone.
Then, download the app from the App Store or Google Play.
Input the following settings:
- Set up the drone for a single shot
- Set the image ratio to 16:9
- Leave the white balance on automatic mode.
One pro tip is to check first if the lens is clean before launching the drone. This can prevent having blur images.
Moreover, pay attention to the GPS calibration. It’s critical to ensure you have proper control of the drone during the flight time.
Learn how to shoot properly
This is the exciting part, but make sure the environment around is free from any power lines and trees.
Launch the flight by pressing the controller toggles in an opposite diagonal direction once you have checked that the path is clear.
Play with the camera angles until you get the shots you wanted.
Make sure to have many shots so you can choose which one is the best to use.
Edit Your Shots
Editing your shots is a must. Do not upload unedited images.
If you are on a tight budget, you can try using some free editing apps, just like Snapseed and VSCO.
The paid ones offer more functionalities and are best if you want more professional-looking photos.
But, if you want to edit by yourself or hire someone you know, that is all fine.
What matters is the result!
Are you now ready to upgrade your listing photos?
Try including some great aerial photographs and see how it can leverage your business.
With many real estate photography companies available, the choice is all yours. Boost your listings with compelling images that people seek and want.
Also, if possible, try incorporating real estate videos too in your listings. It will give interested buyers more reasons to take a look at the property.
