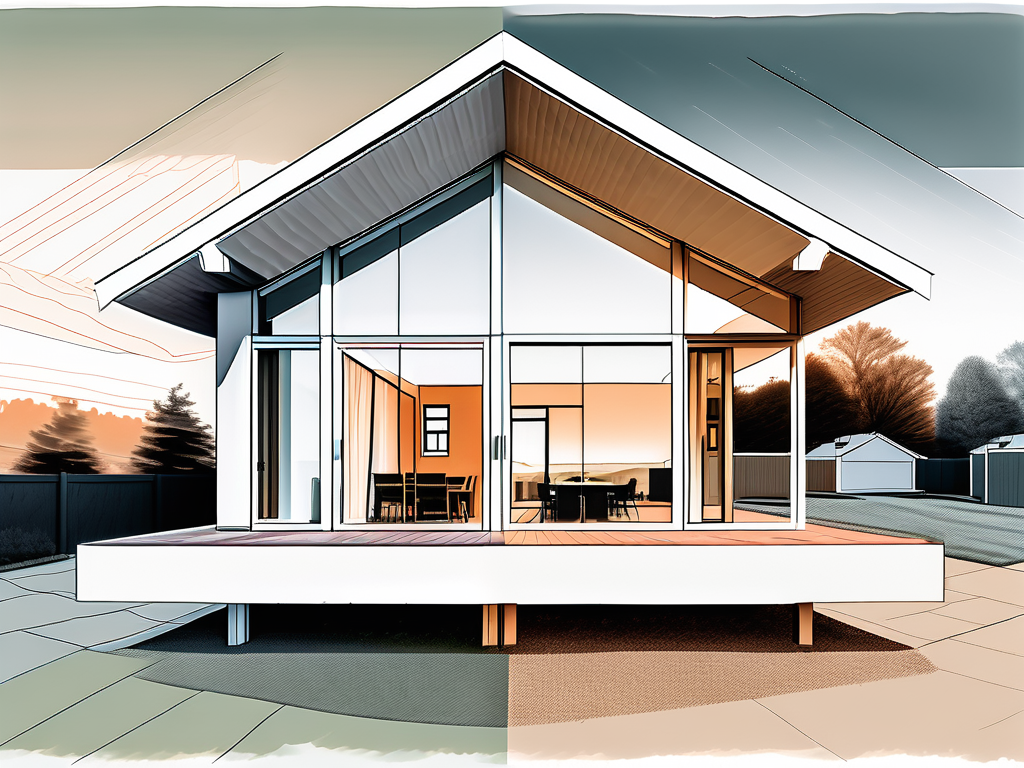
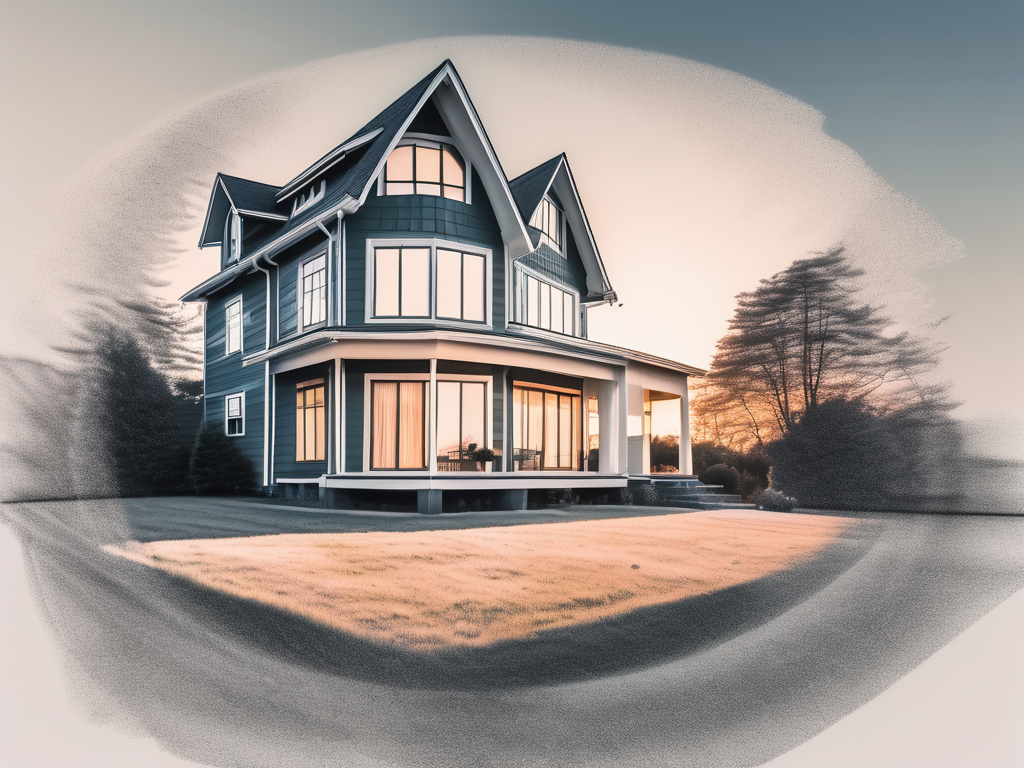
Bracketed images are a fundamental aspect of real estate photography that can greatly enhance the quality and appeal of property images. This technique involves taking multiple photographs of the same scene at different exposure levels, and then combining them to create a single, well-balanced image. This glossary entry will delve into the intricacies of bracketed images, their significance in real estate photography, and the various methods and techniques used to create them.
Real estate photography is a specialized field that requires a unique set of skills and techniques. One of the most important of these is the ability to capture high-quality images that accurately represent a property and its features. Bracketed images are a key tool in achieving this, as they allow photographers to overcome common challenges such as varying light conditions and high-contrast scenes.
Understanding Bracketed Images
Bracketed images are a series of photographs taken of the same scene, but at different exposure levels. This technique is used to capture a wider range of light and detail than can be achieved with a single exposure. The resulting images can then be combined, or ‘blended’, to create a final image that includes the best elements of each exposure.

The term ‘bracketing’ comes from the practice of taking a ‘bracket’ of photos, typically one correctly exposed, one underexposed, and one overexposed. The underexposed image captures the details in the highlights, while the overexposed image captures the details in the shadows. The correctly exposed image serves as a baseline for the other two.
Types of Bracketing
There are several types of bracketing used in photography, each with its own specific purpose and technique. These include exposure bracketing, flash bracketing, depth of field bracketing, and white balance bracketing. However, in the context of real estate photography, exposure bracketing is the most commonly used.
Exposure bracketing involves taking a series of images at different exposure levels. This is achieved by adjusting the camera’s shutter speed, aperture, or ISO settings between shots. The number of images taken and the difference in exposure between them can vary depending on the scene and the photographer’s objectives.
Benefits of Bracketed Images in Real Estate Photography
Bracketed images offer several advantages in real estate photography. Firstly, they allow for a greater dynamic range in the final image. This means that both the darkest and brightest areas of the scene can be accurately represented, resulting in a more realistic and appealing image.
Secondly, bracketed images can help to overcome the challenges posed by varying light conditions. For instance, a room with a window might have a bright exterior and a dark interior. By taking bracketed images, the photographer can capture detail in both areas and combine them into a single, well-balanced image.
Creating Bracketed Images
Creating bracketed images involves several steps, from setting up the camera and capturing the images to processing and blending them in post-production. The specific process can vary depending on the equipment and software used, as well as the photographer’s personal preferences and the specific requirements of the scene.

However, the basic process typically involves setting the camera to bracketing mode, selecting the number of bracketed images and the exposure difference between them, capturing the images, and then blending them together using software such as Adobe Lightroom or Photoshop.
Camera Setup
The first step in creating bracketed images is to set up the camera. This involves selecting the bracketing mode, which is often found in the camera’s menu or settings. The photographer then needs to choose the number of bracketed images and the exposure difference between them. This can typically range from three images with a one-stop difference, to nine images with a three-stop difference.
Once the settings have been selected, the photographer can then compose the shot and capture the bracketed images. It’s important to keep the camera steady during this process, as any movement can result in misaligned images. Using a tripod can help to ensure a stable shot.
Post-Production
After the bracketed images have been captured, the next step is to blend them together in post-production. This involves importing the images into a software program such as Adobe Lightroom or Photoshop, and then using the program’s HDR (High Dynamic Range) or blending tools to combine the images.
The goal of this process is to create a final image that includes the best elements of each exposure. This might involve using the shadows from the overexposed image, the highlights from the underexposed image, and the midtones from the correctly exposed image. The specific process can vary depending on the software used and the photographer’s personal preferences.
Challenges and Solutions
While bracketed images offer many advantages in real estate photography, they also present some challenges. These include the need for a steady camera, the potential for misaligned images, and the time and skill required for post-production. However, with the right equipment, techniques, and software, these challenges can be effectively managed.
For instance, using a tripod can help to ensure a steady shot, while software features such as automatic alignment can correct for any minor movements between shots. Additionally, practice and experience can help to improve efficiency and skill in post-production.
Ghosting
One common issue that can occur when creating bracketed images is ghosting. This is when moving objects appear as a blur or ‘ghost’ in the final image, due to their movement between exposures. This can be particularly problematic in real estate photography, where elements such as trees, curtains, or people might move between shots.
However, many software programs offer tools to reduce or eliminate ghosting. These typically work by identifying the moving objects and then using only one exposure for these areas. Additionally, planning the shoot to minimize movement, such as closing windows to prevent curtain movement, can also help to reduce ghosting.
Overblending
Another potential issue is overblending, which is when the blending process results in an image that looks unnatural or overly processed. This can occur if the difference in exposure between the bracketed images is too great, or if the blending is not done carefully.
To avoid overblending, it’s important to use a suitable range of exposures for the bracketed images, and to take care during the blending process. Using software features such as tone mapping can also help to create a more natural-looking result.
Conclusion
Bracketed images are a powerful tool in real estate photography, allowing photographers to capture a wider range of light and detail than can be achieved with a single exposure. By understanding and effectively using this technique, photographers can enhance the quality and appeal of their property images, and better represent the properties they are photographing.

While creating bracketed images can present some challenges, these can be effectively managed with the right equipment, techniques, and software. With practice and experience, photographers can master this technique and use it to create stunning, high-quality real estate images.
