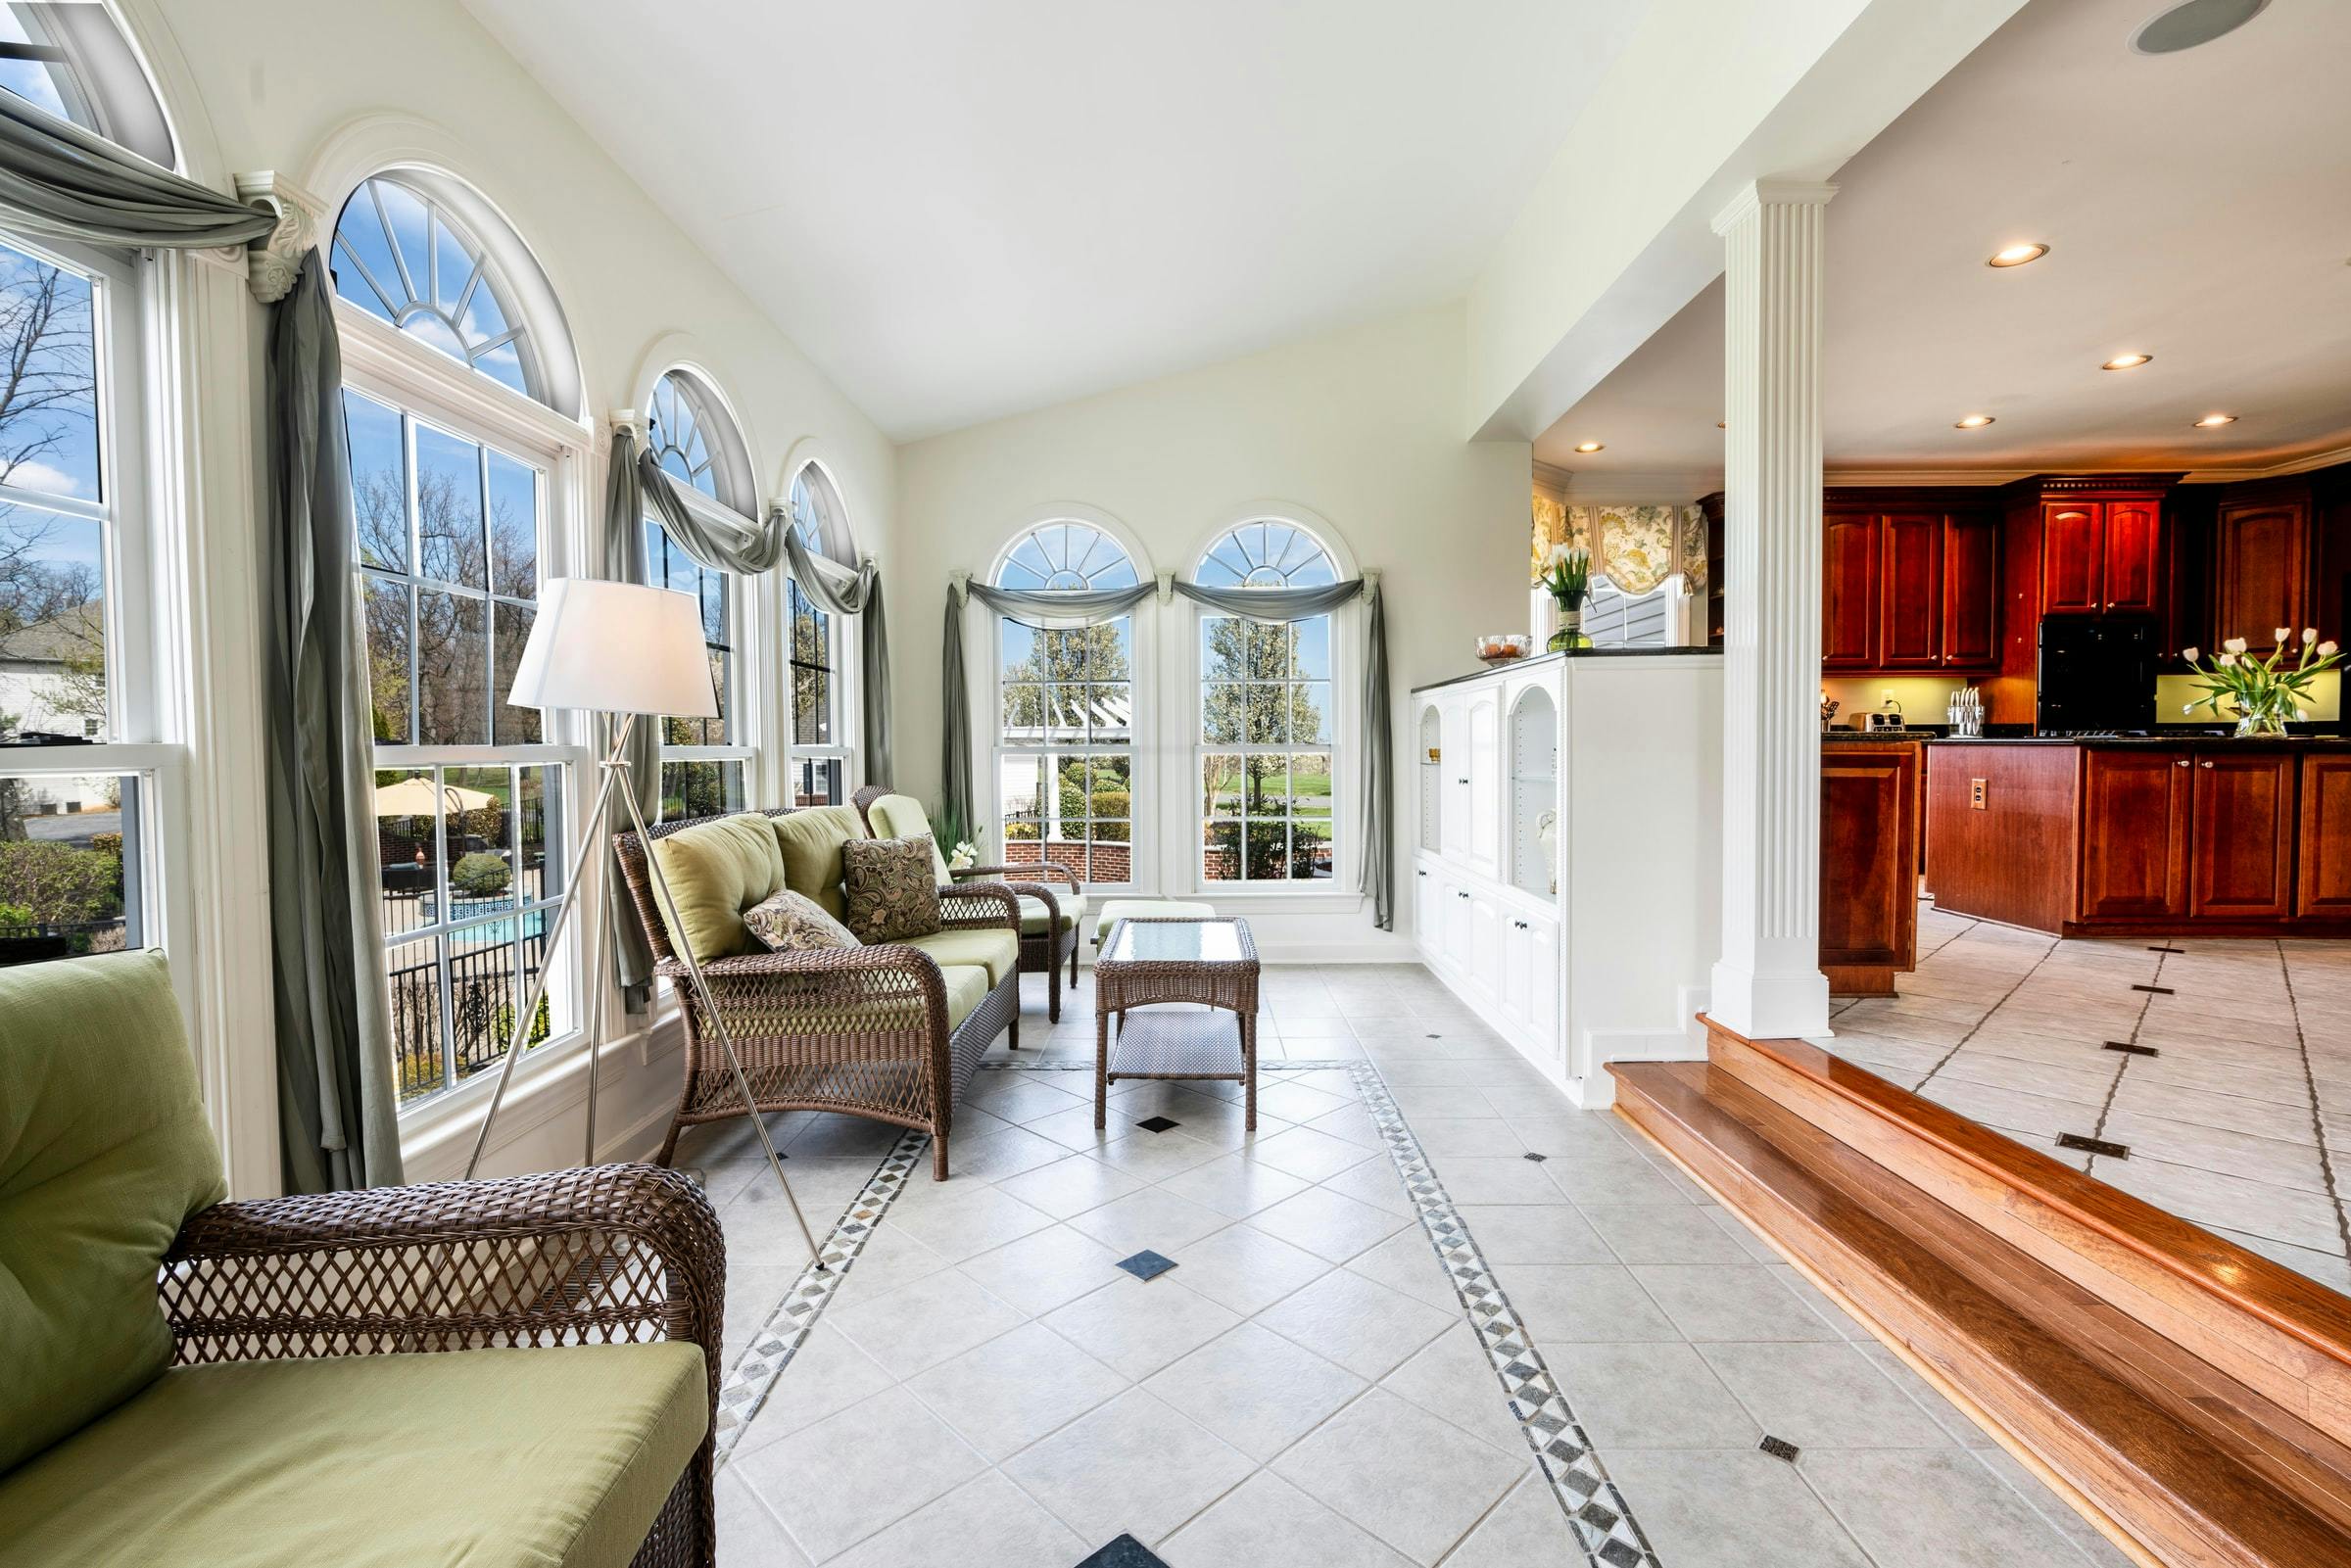
Doing interior real estate photography is a lot of work compared to any usual photoshoots.
As a real estate photographer, you need to ensure preparations have been done beforehand so that you can shoot the most stunning images of the property.
Part of the preparations is checking the place before the agreed photoshoot date and devising a plan that works best for you.
For one, you know that doing interior photography for a property is different from an exterior photo shoot.
Given this, it makes sense to learn some professional tips on interior real estate photography.
Here are seven (7) proven techniques that expert real estate photographers use in every interior photoshoot.
Turn on the lights
This is the most important thing to remember whenever you are shooting a property’s interior – turning all the lights on.
Doing this will make the room brighter and reduce the differences between the inside and outside.
You can include table lamps, overhead lights, and even concealed lighting, perfect for kitchen shots.
Also, be consistent.
Do not turn on the lights in one room only; it should be the lights from all the rooms.
Use ISO 400
Choosing ISO settings for interior shots is a deal-breaker. It is a must.
Remember the basic principle of ISO.
A low ISO means a longer shutter speed is needed just to get the right exposure. However, this can yield blurry images once the camera is moved accidentally.
Moreover, a high ISO setting may produce more noise than you prefer, but the trick is to choose in the middle because it reduces the likelihood of both problems.
And you know what? ISO 400 is the best one to use.
Hence, if you usually use auto ISO, it is best to turn it off to set it to the recommended ISO 400.
Use the manual mode
Manual mode allows you to choose the shutter speed.
This means you can adjust it to create the average exposure of your bracketed sequence, which is useful in HDR merging.
Also, it ensures that the aperture and ISO remain the same in all the bracketed shots so it will not look unnatural and odd.
If you are wondering what setting should be changed during HDR shots, here is the answer: it should only be the shutter speed.
Doing this will give you a range of photos with different exposures, making them ready for HDR merging.
Focus on the interior, not the window
Although natural lighting is preferred, there are times that it does not work the way you expected.
For example, direct sunlight is a good source of natural lighting, but if it is too bright, it will ruin the camera’s auto-exposure making the images look too dim.
You can avoid this by focusing only on the interior.
Get a bright, well-lit image by setting the camera to Aperture Priority first. Then, point it at an area that is away from the windows.
Choose the best HDR camera
The key to great HDR shots has well-lit bracketed exposures.
This will often require taking at least five bracketed photos in two exposure value (EV) steps or nine bracketed photos in one-EV steps.
But what if your camera cannot bracket exposures in more than one value?
It is simple. Just make sure to set the camera to take the maximum number of bracketed shots it can.
Set the rooms
As part of the basics, you should tidy up the property, especially the rooms.
Declutter and remove any unnecessary furniture and fixtures that may not add aesthetics to the shots.
It is best to turn the space into a minimalist area because it can make it more sophisticated and look spacious.
Sometimes, what seems to be a quick session turns out lengthy because you have not prepared the rooms yet.
Alright!
These are the seven pro tips you should know and practice.
What do you think? If you have some other tips to share with other photographers out there, let us know!
